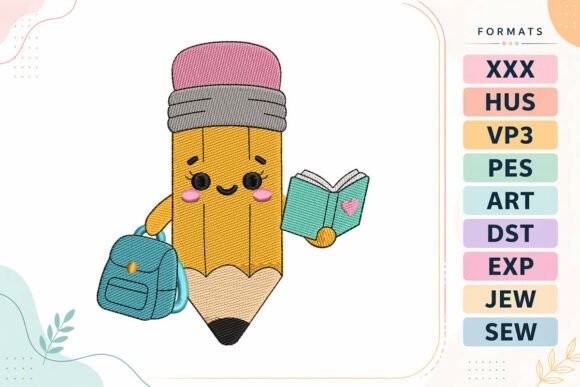
Smart Pencil Back to School
A Playful Yet Professional Embroidery Design for Small Business Branding
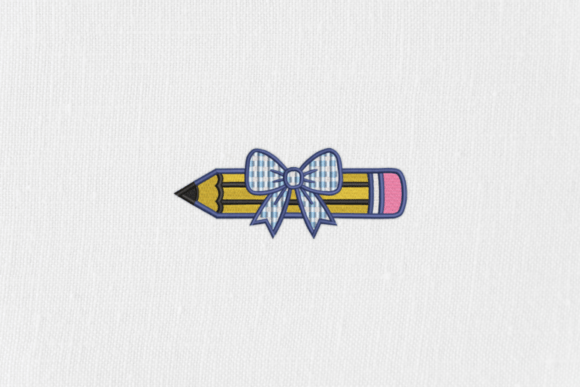
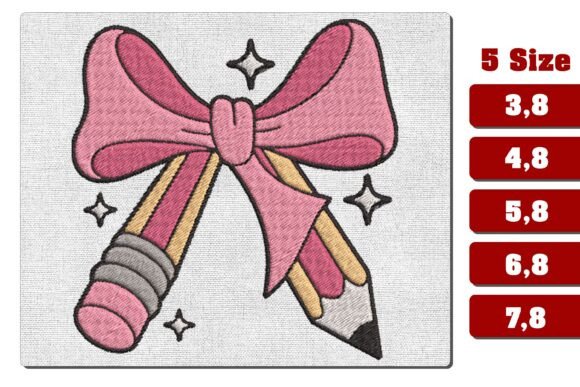
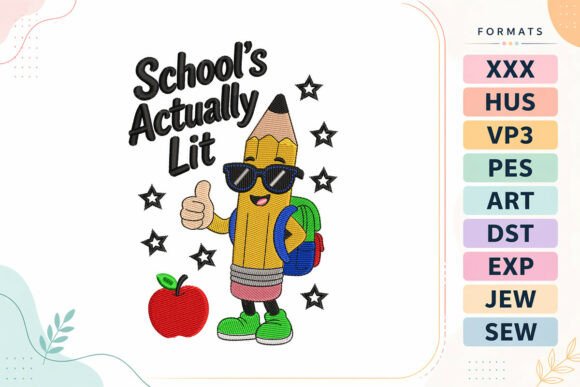
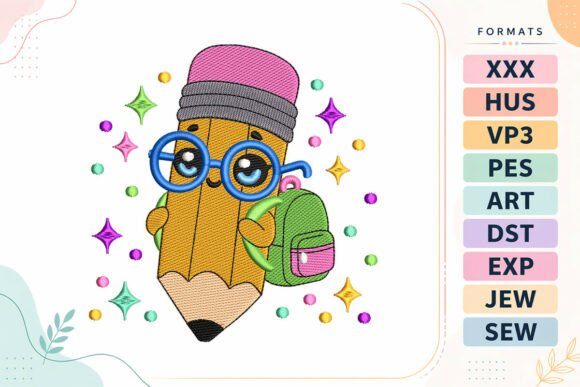
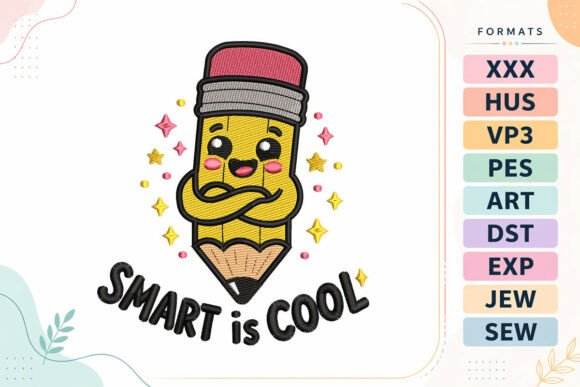
As an embroidery designer who’s helped over 200 small businesses build cohesive, stitch-ready brand assets, my first impression of Smart Pencil Back to School is refreshingly balanced: it’s undeniably kawaii—adorable, expressive, and full of warmth—but avoids feeling overly juvenile or cutesy in a way that would undermine professionalism. The folded arms, rosy cheeks, sparkling accents, and cheerful smile communicate confidence, approachability, and quiet intelligence—not just “cute for kids.” That duality makes Smart Pencil Back to School unusually versatile for small business merch: it reads as handmade charm without sacrificing polish, and as joyful branding without leaning into gimmick.
Where It Shines in Real Business Applications
This machine embroidery design excels where personality meets practicality. On embroidered patches—especially 2”–3” woven or chenille-style backing—it holds crisp detail while retaining its friendly energy. I’ve seen it work beautifully on café aprons, florist tote bags, and boutique product tags, where it signals creativity and care without competing with the product itself. For staff uniforms, it performs well as a chest logo accent on cotton-poplin work shirts or as a subtle sleeve detail on linen-blend bakery smocks. Its compact silhouette and clear focal point (the smiling pencil face) ensure strong recognition even at glance distance—critical for customer-facing teams.
On cap embroidery, Smart Pencil Back to School lands cleanly when placed front-center on structured cotton twill or unstructured polyester caps—its rounded shape flows naturally with the curve, and the absence of fine internal linework prevents distortion. As a tote bag design, it scales gracefully up to 4.5” wide without losing definition, making it ideal for reusable shopping bags used by craft studios, pet brands, or local gift shops. And because it’s rooted in the Back To School theme but not locked into academic clichés (no apples, no graduation caps), it doubles effortlessly as a year-round “learning through doing” motif—perfect for makerspaces, ceramic studios, or DIY workshops.
Use With Intention: Key Considerations for Commercial Embroidery
Like any strong digital embroidery file, Smart Pencil Back to School rewards thoughtful execution—and reveals limitations when rushed. Its sparkling accents and cheek details rely on controlled stitch density; on textured fabrics like heavy canvas or terry cloth, those elements can blur unless paired with cutaway stabilizer and precise tension calibration. Dark uniforms—especially navy or charcoal work shirts—require high-contrast thread colors (think bright coral or lemon yellow for cheeks, silver metallic for sparkles) to preserve legibility after repeated laundering.
At under 2”, the design begins to lose sparkle definition and cheek softness—so avoid using it as a tiny lapel patch or mini label on product packaging unless you’ve confirmed the embroidery file includes a simplified alternate version. Cap fronts are forgiving, but curved surfaces like curved visors or rounded ceramic mugs (if applied via heat-transfer embroidery patches) need careful digitizing adjustments—don’t assume the base file auto-adapts. Also, double-check spacing between the pencil’s arms and body before scaling down: tight gaps may close up entirely below 1.75”, compromising the folded-arm expression that gives the character its confident posture.
How It Strengthens Brand Identity and Customer Trust
Small business owners often underestimate how much visual consistency builds trust—and Smart Pencil Back to School delivers that consistency across touchpoints. When stitched identically on staff aprons, customer tote bags, and Etsy packaging tags, it creates a unified handmade product story. Customers subconsciously register cohesion as care: if your team wears it proudly and your packaging carries it thoughtfully, they believe your brand values attention to detail. Unlike generic clipart-style logos, this embroidery file feels intentional—designed *for* stitch, not adapted from vector art. That authenticity boosts perceived value, especially among buyers who support small creative businesses.
For Etsy sellers and crafters, it also supports buyer engagement: shoppers love recognizable, repeatable motifs that become part of their experience—like seeing the same pencil smile on a soap label, a tea towel, and a workshop badge. That repetition builds familiarity faster than abstract logos, helping your brand stand out in crowded marketplaces without shouting.
Practical Designer Notes Before You Stitch
- Always test in black and white first—verify contrast between pencil body, cheeks, and sparkles before committing to full thread palette.
- Confirm patch-size viability: run a 1.75” and 2.25” test on your target fabric to assess clarity of facial features and arm separation.
- Review thread color contrast on both light and dark substrates—rosy cheeks fade fast on burgundy or black without warm-toned thread selection.
- Inspect spacing and underlay in the embroidery file—tight arm-to-body gaps need proper underlay to prevent puckering on stretchy or lightweight fabrics.
- Confirm hoop size compatibility with your commercial embroidery machine; some versions may require larger hoops for optimal stability during dense sparkle stitching.
- Test on real fabric, not just stabilizer sheets—fabric texture dramatically affects how sparkles read post-stitch.
- Use appropriate stabilizer: medium-weight cutaway for knits, tear-away for stable wovens, and fusible + cutaway combo for textured or loosely woven materials.
- Create a printable mockup for client approval—show it scaled on apron chest, cap front, and tote bag corner to confirm placement harmony.
- Compare beside existing design assets: does it complement your current logo, typography, or color palette—or clash tonally?
- Verify commercial licensing before production—ensure your digital embroidery file permits use on merchandise sold to end customers.